Are you tired of your old pillar drill chuck but not sure how to replace it? It’s a tricky task, especially if you don’t have the right tools or experience. But with our step-by-step guide on how to change a pillar drill chuck, even an amateur can make quick work of this project. We’ll show you what tools are required and walk through both removing the old chuck and installing the new one. So grab your screwdriver – let’s get started.
Table of Contents:
- Tools Required
- Removing the Old Chuck
- Installing the New Chuck
- FAQs in Relation to How to Change a Pillar Drill Chuck
- Conclusion
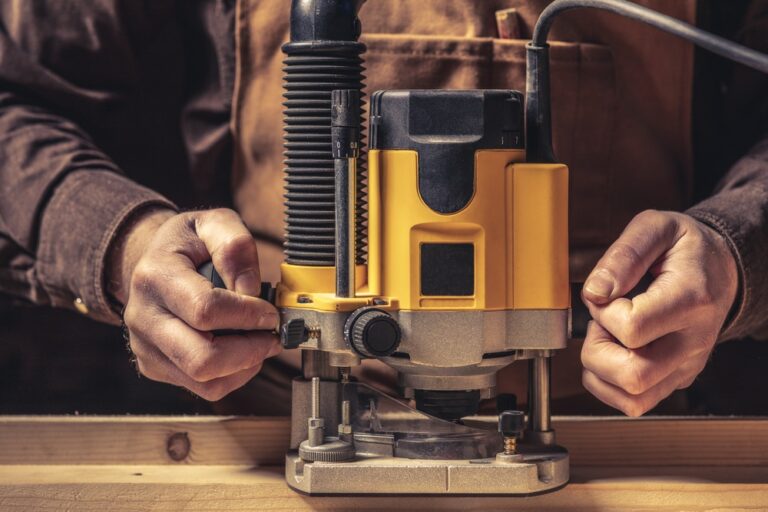
Tools Required
When it comes to replacing a pillar drill chuck, there are certain tools that you will need. Firstly, you’ll need a spanner that is the right size for your particular model of the drill. This is important as using an incorrect-sized spanner can cause damage to the chuck or even the drill itself. You may also require a hammer and punch to remove any stubborn screws or bolts from the old chuck. Finally, you’ll need a screwdriver to attach any new parts needed when installing the new chuck.
It is important not to underestimate how much time and effort goes into replacing something like this; if done incorrectly it could lead to serious problems down the line. Make sure all your tools are up-to-date and in good condition before attempting this job yourself; better safe than sorry.
Once you have gathered the necessary tools, it’s time to remove the old chuck from your pillar drill.
Removing the Old Chuck

Removing the old chuck from a drill can be a tricky task, but it doesn’t have to be. With the right tools and some patience, you’ll soon have your new chuck installed and ready for use.
First, make sure that your drill is unplugged and all power sources are turned off before beginning any work on it. Then, locate the spindle of the drill where the chuck is attached. Using a spanner or wrench with teeth that fit snugly around the spindle’s circumference, hold onto one side of it while using another tool (such as a hammer) to tap lightly against its opposite end until it begins to loosen up. Continue tapping until you feel no resistance when turning by hand – this means that you’ve successfully loosened up enough of the chuck so that it can now be removed from its seat in the spindle.
Once you have completed this step, use your spanner or wrench to hold onto one side of the spindle while gently pulling outwards on its other end with both hands until it is released from its seat. You should now have successfully removed your old chuck – congratulations.
Now comes time for installing your new one – but we’ll save that for our next blog post.
Once you have removed the old chuck, it’s time to install the new one.
Installing the New Chuck

Installing a new chuck is an easy task that can be done in just a few steps. To begin, make sure the drill is unplugged and all of its components are securely fastened.
Next, remove the old chuck by loosening it with a screwdriver or wrench. Make sure to turn it counterclockwise until it comes off completely from the spindle of the drill. Once removed, you should be able to see three small screws on either side of the spindle which will need to be unscrewed as well before installing your new chuck.
Now that everything has been taken apart, you’re ready to install your new chuck. Place it onto the spindle and align it correctly so that all three screws fit into their respective holes on each side of the spindle. Then use your screwdriver or wrench again to tighten them up securely – but not too tight. You don’t want any unnecessary strain being put on your drill motor when using your tool later down the line.
Once tightened up properly, give everything one last check for safety purposes before plugging in and powering up your drill once more. With this simple process completed, you now have a brand-new working chuck installed onto your trusty power tool – congratulations.
FAQs in Relation to How to Change a Pillar Drill Chuck
How do you change a drill bit on a pillar drill?
Changing a drill bit on a pillar drill is relatively simple. Firstly, ensure the power to the machine is switched off and unplugged. Next, loosen the chuck by turning it counter-clockwise with an adjustable wrench or spanner. Once loose enough, remove the old bit from inside the chuck jaws and insert your new one in its place. Finally, tighten up the chuck by rotating it clockwise until secure. If you have any difficulty with this process please refer to your manufacturer’s instructions for further guidance.
How do you put a chuck back on a drill press?
To put a chuck back on a drill press, you’ll need to start by removing the existing chuck. To do this, turn off the power and unplug the machine. Then use an appropriate wrench to loosen and remove the chuck from its spindle. Once removed, clean any debris or dust from the inside of it before installing your new one. Insert your new chuck onto the spindle with its key in place and tighten it using a wrench until secure. Finally, plug in your drill press and test out that everything is working properly before continuing with your project.
How do you remove a threaded Jacobs chuck?
Removing a threaded Jacobs chuck is relatively simple. First, you’ll need to ensure the drill bit or other tool attached to the chuck is completely disengaged from the material it was working on. Next, use an adjustable wrench to loosen and remove any screws that may be holding the chuck in place. Finally, grasp the Jacobs chuck firmly with your hand and twist counterclockwise until it comes off of its threading. With these steps completed, your Jacobs chuck should now be removed from your drill or other power tools.
Conclusion
Changing a pillar drill chuck may seem like an intimidating task, but with the right tools and some patience, it can be done in no time. With these simple steps on how to change a pillar drill chuck, you can now change on your own without any hassle or extra help. So don’t wait any longer – get out there and start changing that pillar drill chuck.