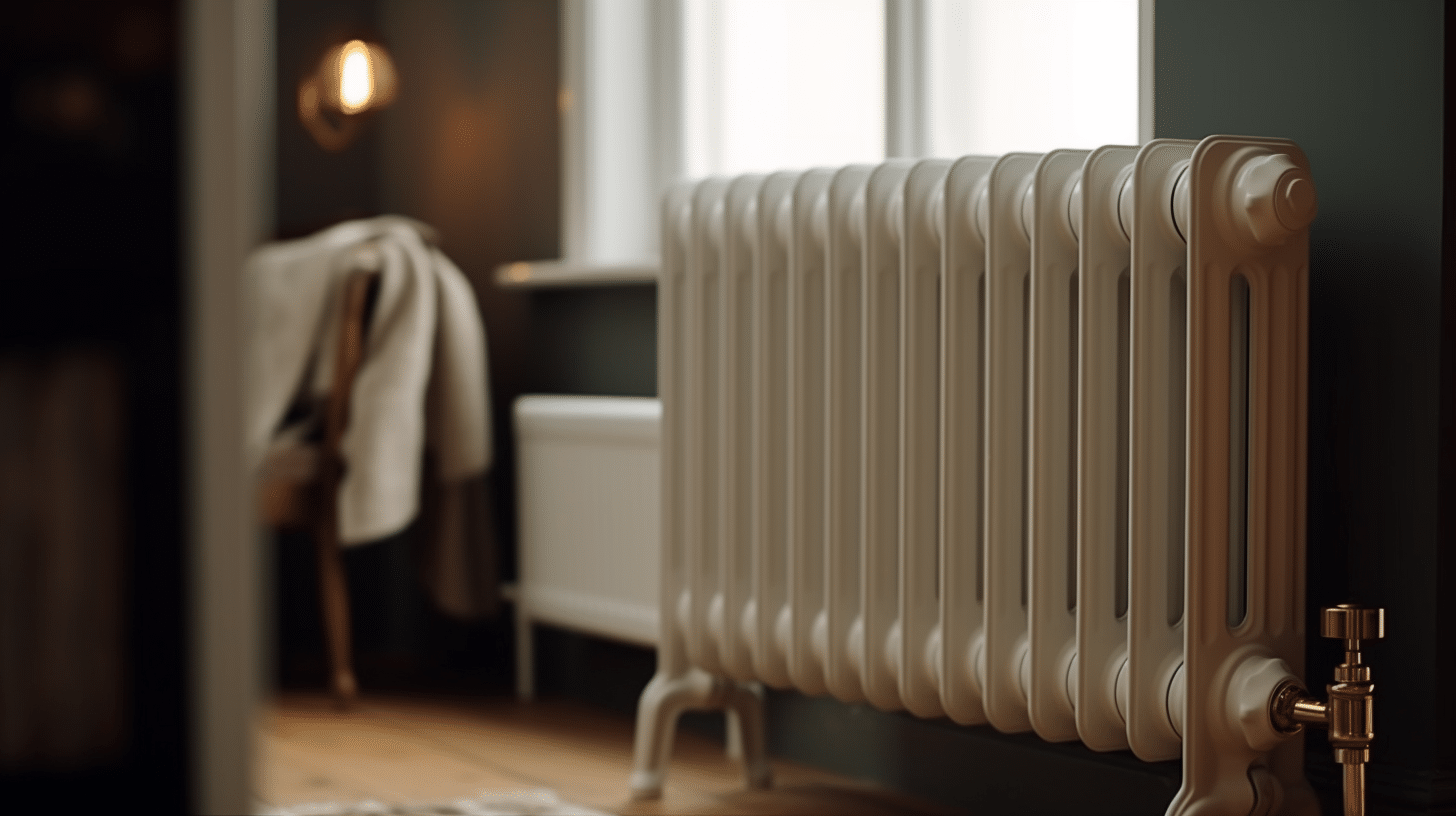
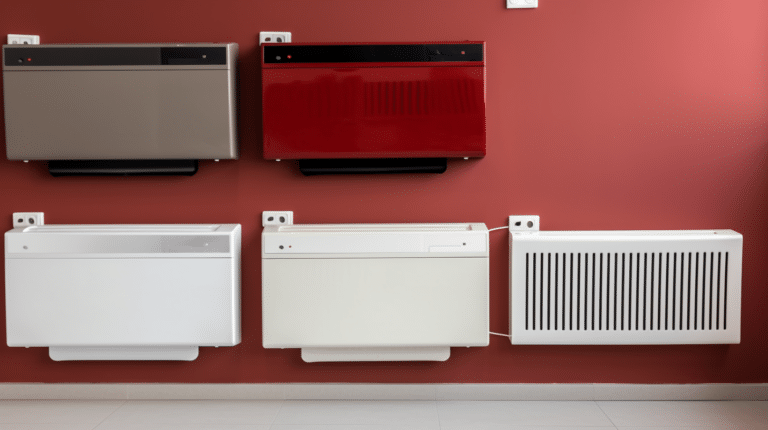
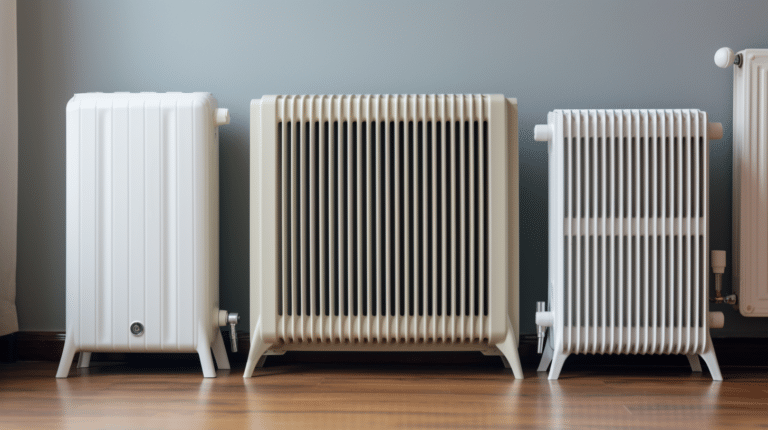
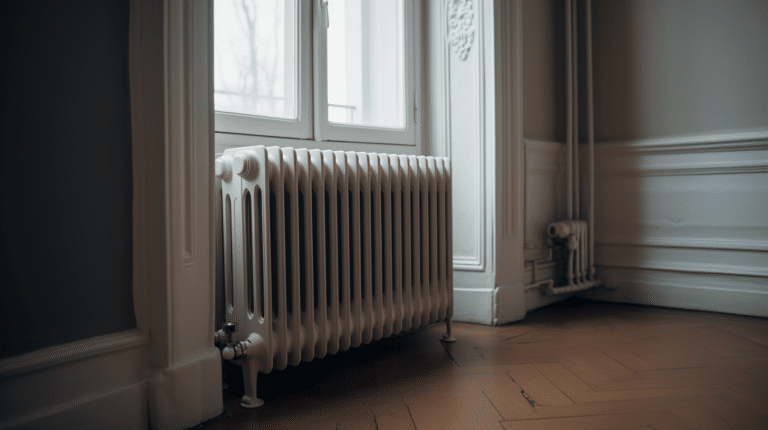
Hey there! Cleaning an oil filled heater isn’t difficult, but it’s important to do it right. After all, you wouldn’t want any of that grime and dirt to mess up your nice warm home! Here’s a guide on how to clean yer oil filled heater safely and effectively. It only takes a few minutes each week, so why not start now? Let’s get started with some tips that’ll help keep yer heater in top shape – cheerio!
Key Takeaways
- Use a vacuum cleaner with a brush attachment to remove dust from the outside of the heater.
- Wipe down the inside of the heater and surrounding areas with a cloth or duster.
- Unplug power cords before cleaning an oil filled radiator regularly.
- Have the oil-filled heater serviced at least once a year.
Don’t Let Dust Build Up
Dust build-up can be a major problem when it comes to oil filled heaters, so it’s important to make sure you don’t let any accumulate. One way to do this is by using a vacuum cleaner with a brush attachment to remove dust from the outside of the heater. You should also use a cloth or duster to wipe down the inside of the heater, as well as places around it that may have dust on them. It’s important not to forget about safety when cleaning an oil filled heater. Make sure you turn off all power sources before starting and check for any overheat protection devices that may be present. Also avoid leaving anything flammable near the heater while in use. Cleaning an oil filled heater doesn’t need to be time consuming if done regularly, but always remember proper safety precautions. Taking these steps will ensure your electric or space heater stays clean and functions properly for years to come – cheerio!
Vacuum Regularly
Vacuuming regularly can help prevent dust buildup, which may impact the effectiveness of your oil-filled heater over time. Using a vacuum cleaner with a soft brush attachment to clean off the heating element, temperature control knob, and vents once every month will ensure that dust doesn’t interfere with the functioning of the heater. Additionally, you should make sure to unplug power cords before cleaning an oil filled radiator on a regular basis. It’s also important to use a dry cloth or feather duster to remove any debris from around adjustable thermostat and other parts of the heater for best results.
To get started, make sure you have all your supplies ready: vacuum cleaner with appropriate attachment, dry cloth or feather duster, soft cloth and some elbow grease! Make sure that you’re working in an area where there is enough space for movement – pushing furniture out of the way may be necessary for best access to every part of the heater. Once everything is ready, begin vacuuming each surface gently – this includes all vents and crevices in between them. Then move on to wiping down surfaces with either a dry cloth or feather duster followed by gentle wiping using a soft cloth until all visible dirt has been removed.

Finally, pay close attention when vacuuming over power cords as they are sensitive components which could be damaged if not handled carefully – take extra care when cleaning these areas! Additionally, don’t forget to adjust temperature setting back up after cleaning as it might have been lowered during vacuuming process – being careful not to exceed manufacturer’s recommended settings! Regularly following these steps will keep your oil filled radiator free from dust buildup and ensure its efficient operation over time. Cheerio!
Read the Directions
Before you start using your oil-filled heater, be sure to read the manufacturer’s directions carefully so you can get the most out of it. It is important to follow all instructions regarding its use and maintenance, as failing to do so could result in damage or injury. Take your time to understand each step in the manual and don’t rush through them. If anything seems unclear, consult a professional for assistance.
When cleaning an oil filled heater, it is recommended that you use a damp cloth with mild detergent to wipe down any dust or dirt on the exterior. Make sure not to use any harsh chemicals or abrasive materials as these could damage the surface of the device. Be sure to also keep any liquids away from the heating element as this could cause sparks or fires if it comes into contact with electrical components.
Cleaning an oil filled heater doesn’t have to be a hassle; just make sure that you take your time and follow all of the manufacturer’s instructions closely. Lastly, always remember safety first when dealing with electric heaters and never leave them unattended while they are running – no matter how much cheerio it might seem!
Unplug Portable
For safety reasons, always unplug your portable heater when yer not using it. Unplugging the device will help avoid any potential electrical accidents that could occur if the cord is damaged or frayed. Additionally, unplugging the cord from the wall outlet will also reduce the risk of overheating and fire hazards. The last thing anyone wants is to have a smoky cheerio in their abode!
It’s also important to remember to turn off the power switch on the device itself before unplugging it from the wall outlet. This extra precautionary step helps ensure that all electricity has been cut from reaching your oil filled heater, thus preventing any kind of spark or short circuit.
So for peace o’ mind and safety of those around ye, make sure to unplug yer heater when yer done using it! Wouldn’t want any unexpected surprises comin’ out o’ nowhere!
Treat Rust
If ye spot rust on yer heater, scour it away like a ship captain charting the seas to avoid any potential damage! Depending on the severity of the rust, use sandpaper or steel wool to remove it carefully. If ye find that ye’ve got a bit of rust in some hard-to-reach places, try using an old toothbrush or cotton swab dipped in lemon juice and salt for extra oomph. Make sure not to use harsh chemicals as they could damage the surface and cause more harm than good.
When cleaning any oil filled heater, keep in mind that all surfaces must be completely dry before refilling with oil. So make sure there is no moisture left behind after scrubbing away the grime and rust when dealing with yer heater. It’s also important to note that even if yer heater looks shiny and new again after treating it, don’t turn it on until you’ve checked every nook and cranny for any remaining debris or particles.
Once everything is sparkly clean, take a step back and admire your work! And if yer ever unsure about how to properly clean yer oil filled heater, consult a professional who will be able to give advice tailored specifically for your situation–it’s better safe than sorry! Cheerio!
Service Yearly
To ensure your oil-filled heater runs smoothly and safely, it’s essential to have it serviced at least once a year. This is true even if you’ve already taken steps to treat any rust that may have built up over time. A yearly service check-up will help keep the unit in tip-top shape, so y’all can rely on it when the cold weather hits. During this visit, an experienced technician will inspect the entire system, giving it a thorough clean and checking for any signs of wear and tear.
They’ll also change out any filters or other parts that might need replacing. And if anything is broken or not working correctly, they’ll be able to repair it quickly and efficiently. The technician should also check the wiring of the heater too – faulty wiring could lead to dangerous situations down the line! Of course, all of these things combined mean y’all won’t have to worry about your oil-filled heater breaking down unexpectedly.
A yearly service isn’t just important for safety reasons either – regular maintenance can help improve energy efficiency as well! So don’t skimp on getting those annual visits from an experienced technician; after all, a little bit of preventative care now could save y’all a lot of headaches later on down the road! Cheerio!
Frequently Asked Questions
How often should the oil be changed?
It’s hard to say how often the oil should be changed as it depends on a few factors such as the type of oil used and the environment in which the heater is being used. Generally speaking, you’d want to check your oil levels every couple of months and change it out if necessary. Oftentimes, people don’t realise that their oil-filled heaters need to be maintained until they start having problems – but regular maintenance could save you from a lot of cheerio later down the line! Wouldn’t it be great if there was an easy way to keep track of when you need to change out your oil?
What is the best way to store the heater when it is not in use?
When it comes to storing my oil-filled heater when it isn’t in use, I’d recommend putting it in a place that is dry and out of the way. This could be inside a cupboard or closet, away from any direct sunlight or sources of heat. Make sure to keep the area around the heater clear so you won’t trip over it if y’all need to grab it quickly. If you’ll be storing it for an extended period of time, wrap the cord tightly around the heater body and secure with some electrical tape for extra safety. Lastly, give your oil-filled heater a good clean before stowing it away and cheerio!
Are there any safety precautions I should take when cleaning the heater?
Before cleaning an oil filled heater, it’s important to take safety precautions. According to the National Fire Protection Association, heating equipment is responsible for an estimated 15 percent of all reported home fires. Therefore, I wouldn’t recommend cleaning your oil filled heater without taking the proper steps to ensure your safety. Make sure to turn off the power and allow the device time to cool down before beginning any sort of cleaning process. Additionally, wear gloves and protective eyewear as a precaution against splashing hot oil or coming into contact with sharp edges on the device itself. With these simple steps in mind, you can clean your oil-filled heater cheerio!
Conclusion
Overall, cleaning an oil filled heater doesn’t have to be a daunting task. With some regular maintenance and care, it’ll keep running smoothly for years to come. You wouldn’t want to take it apart yourself, as it could be dangerous if not done properly. Letting a professional service your heater yearly is the best way to ensure its longevity. Plus, they can spot any potential problems before they arise, saving you from costly repairs down the line. So why not give it a go? Cheerio!

