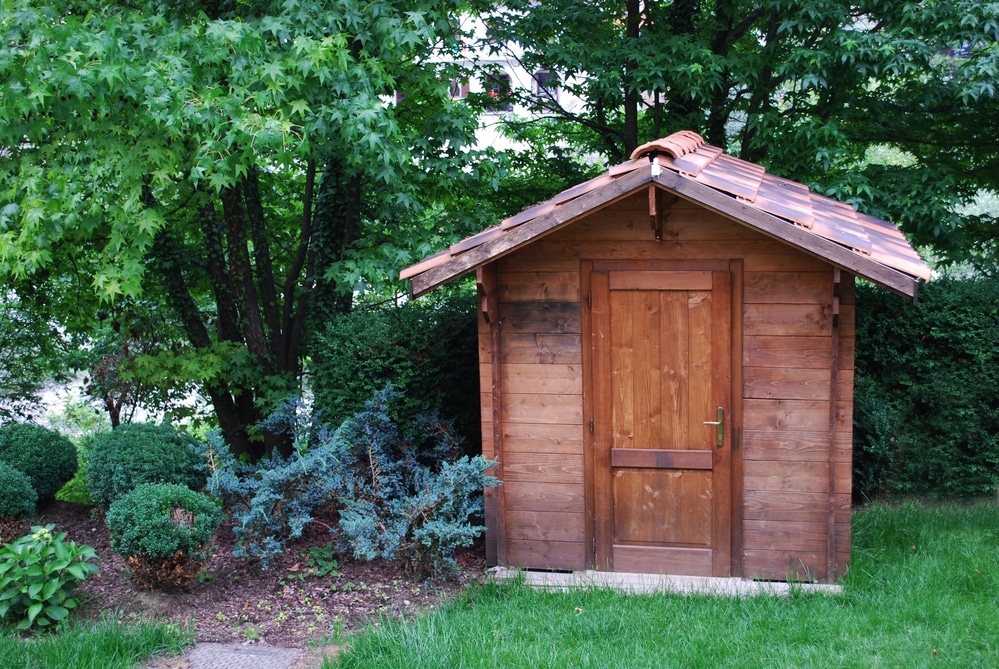
Having a secure shed is an essential part of protecting your home and garden. But with so many different types of locks available, it can be hard to know which one is right for you. One option that’s becoming increasingly popular in the UK is fitting a mortice lock to your shed door – but how exactly do you go about doing this? In this blog post, we’ll show you step-by-step how to fit a mortice lock to a shed door – from preparing the door through securing the lock and finishing touches. So if you’re looking for advice on how best to protect your outdoor space, read on.
Table of Contents:
- Preparing the Door
- Fitting the Lock
- Securing the Lock
- Finishing Touches
- FAQs in Relation to How to Fit a Mortice Lock to a Shed Door
- Conclusion
Preparing the Door
Preparing the door for fitting a mortice lock is an important step in ensuring your home security. Before you start, it’s essential to measure and mark out the hole accurately. To do this, take a ruler or tape measure and measure from the edge of the door to where you want the centre of your mortice lock to be located. Once marked with a pencil, use a square to draw two lines at right angles across each other – one vertical line along the length of the door and one horizontal line along its width. This will create four quadrants which will help you locate exactly where your mortice should go.
Next, drill pilot holes using either an electric drill or manual brace and bit set into each corner of your marked-out area on both sides of the door – these are used as guides when chiselling out your mortice later on. Make sure that all four holes meet up with each other before continuing onto chiselling out your mortice by hand or using an electric router if preferred.
When finished, clean up any excess wood chips created during drilling/chiselling before securely placing the screws provided in most locksets kits available online or at local DIY stores around the UK.
Once the door is prepared and ready to go, it’s time to fit the lock. With the right tools and a bit of patience, you’ll have your shed secure in no time.
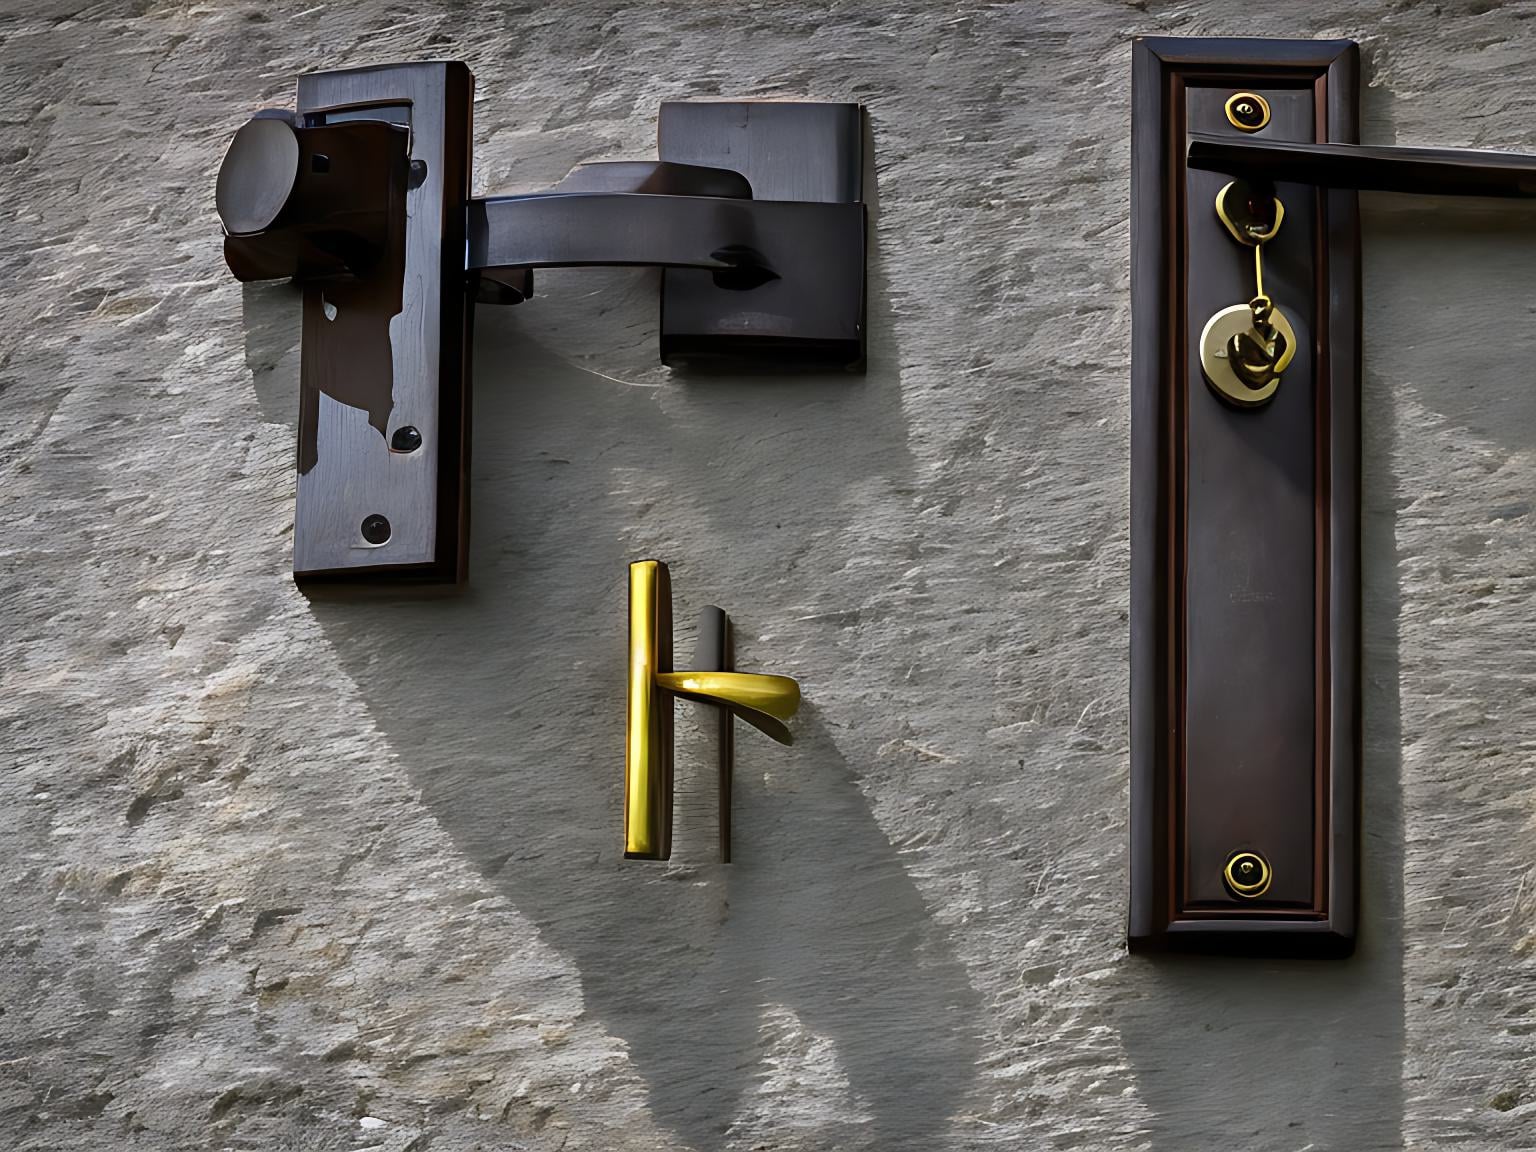
Fitting the Lock
Installing a lock into your door can be a daunting task, but with the right tools and instructions, it’s easy to do. Here are some steps you need to take when fitting a lock:
Gather Tools:
Before you start, make sure you have all the necessary tools. You will need a drill, screwdriver, chisel or router bit (depending on what type of lock), screws and washers.
Mark Out Mortice:
Use your chosen tool to mark out where the mortice should go in relation to the edge of your door frame. It is important that this area is marked accurately as any mistakes could affect how well your lock fits later on.
Cut Mortice:
Once you have marked out where the mortice should go, use your chosen tool to cut it out from within the door frame. Make sure that there are no rough edges left behind after cutting as these could prevent your lock from fitting properly later on.
Insert Lock Plate and Screws:
Place the plate for your new lock into position within the mortice and secure it with screws and washers provided by the manufacturer if needed – make sure they are tight enough so that they don’t come loose over time.
Adjust for Snug Fit:
If necessary adjust either side of the plate using an adjustable spanner until it fits snugly against both sides of the mortice without being too tight or too loose – this will ensure maximum security for years to come.
Finally, test how smoothly everything works by inserting the key into the cylinder and turning the handle. If all goes well, then congratulations – you have successfully fitted a new lock.
Once the lock is in place, use screws to secure it and ensure that your shed door remains firmly locked. Now let’s move on to securing the lock for extra security.
Securing the Lock
Securing the lock is an important step in ensuring that your door is secure. To do this, you’ll need to use screws or nails to attach the lock firmly to both sides of the door.
If you’re using screws, make sure they are long enough so that they penetrate into both sides of the door frame and hold securely. It’s also a good idea to use washers on each side of the screw head for extra security. If you’re using nails, make sure they are large enough and driven deep enough into both sides of the frame so that they won’t come loose over time.
Once all your screws or nails are in place, check them one last time before moving on to finishing touches, such as painting around them if necessary. Make sure there aren’t any gaps between where your hardware meets with either side of the doorframe – if there are, fill them with wood putty or caulk before proceeding further.
Finally, it is a good idea to test how well your lock works by locking and unlocking it several times from both inside and outside of your home. This will help ensure everything is working properly before proceeding further.
Once you have secured the lock to the door, it’s time to make sure all of your hard work is finished off properly with some finishing touches.
Finishing Touches

When it comes to the finishing touches of your door installation, there are a few things you should keep in mind. First and foremost, make sure that the lock is secure and fits properly. This means checking for any gaps between the door frame and the lock itself. If there are any gaps, use caulk or weatherstripping to fill them in so that no one can easily break into your shed or home.
Next, add a handle or latch to complete the look of your new door. Make sure it’s easy to open from both sides – this will be especially important if you’re installing an external door with a keyed entry system on one side. You’ll also want to check that all screws are tightened securely so they don’t come loose over time due to wear and tear.
Finally, test out your new setup before closing up the shop. Try opening and closing the door several times with both handles/latches (if applicable) as well as using any keys necessary for locking mechanisms such as deadbolts or padlocks. Doing this will ensure everything works properly before you leave it alone for extended periods of time, which could save you some headaches down the line.
FAQs in Relation to How to Fit a Mortice Lock to a Shed Door
How do you fit a mortice lock to a solid door?
Fitting a mortice lock to a solid door is relatively straightforward. Firstly, measure the size of the lock and cut out an appropriate sized hole in the edge of your door using a drill and chisel. Next, insert the lock into the hole from inside your home, making sure it’s level with the surface of your door. Finally, secure it in place with screws provided by the manufacturer before testing that it works correctly. With these steps followed you can be confident that your mortice lock will provide extra security for your home.
How do you cut a door for a mortice lock?
To cut a door for a mortice lock, you will need to measure the size of the lock and mark out its position on the door. Using a chisel and hammer, carefully cut away at the wood until it is deep enough to fit your mortice lock. Make sure that all sides are even and square so that when you insert your lock it fits snugly into place. Finally, sand down any rough edges before fitting your new mortice lock. With these steps in mind, cutting a door for a mortice lock should be relatively straightforward.
What tools do you need to fit a mortice lock?
To fit a mortice lock, you will need the following tools:
1. A drill and drill bits – to make holes in the door for the lock body and strike plate.
2. Chisels – to cut out space for the lock body in the edge of your door.
3. Screwdrivers – to secure screws into place on both sides of your door frame and latch mechanism.
4. Hammer or mallet – to tap chisel or drive screws into place if needed.
5. Mortice gauge – used as a template when cutting out space for the lock body in your door edge with a chisel or router bit, ensuring an accurate fitment every time.
Conclusion
With the right tools, preparation and patience you can have it done in no time. It’s important to take the necessary steps when learning how to fit a mortice lock to a shed door to ensure that it works properly and securely for years to come. We hope this guide has been helpful in teaching you how to fit a mortice lock to your shed door – good luck with your project.