Ironing a shirt with a steam iron may seem like an intimidating task, but it doesn’t have to be. Whether you’re an experienced pro or just getting started in the world of garment care, learning how to iron a shirt using a steam iron can help make your clothes look sharp and wrinkle-free. From preparing the fabric correctly and setting up your equipment properly to mastering some basic techniques and making use of that powerful blast of steam – we’ve got all the tips you need for successful shirt-ironing. So get ready: let’s learn how to iron a shirt with a steam iron once and for all.
Table of Contents:
Preparing the Shirt
Prior to commencing your ironing, it is essential to ensure that the garment is prepared. The first step is sorting by fabric type. Cotton and linen shirts should be washed separately from synthetic fabrics like polyester or nylon, as the latter can melt when exposed to high temperatures. Once sorted, lay out each shirt on an ironing board and smooth out any wrinkles with your hands. Make sure that all buttons are fastened so they don’t get caught in the steam of the iron later on. If spotted or stained, pre-treat with a stain remover prior to the commencement of ironing.
Once you have your shirt ready, it’s time to set up the iron and get started on creating a perfectly pressed garment.
Setting Up the Iron
Setting up your steam iron is the first step to a perfectly pressed shirt. Before you get started, make sure that you have all of the necessary supplies: an ironing board, an iron, and some water.

First, fill your steam iron with water. Make sure to use distilled or filtered water if possible; tap water can leave behind mineral deposits in the tank over time. Fill it until it reaches the “max” line on the side of the tank – never exceed this amount. Once filled, put your steam iron back onto its base and plug it into a power outlet.
Next comes temperature adjustment. Most irons come with several settings for different types of fabric; look at your garment’s care label for guidance on which setting to choose (e.g., wool garments require lower temperatures than cotton). Set your dial accordingly before turning on the power switch located near where you plugged in the cord – usually marked by an “on/off” symbol or words like “power”. You may also want to check whether there are any additional features available such as a spray button or burst-of-steam option that could help you achieve better results when pressing more delicate fabrics like silk or linen.
Finally, wait for your steam iron to heat up before using it – most models will beep once they reach their desired temperature setting so keep an ear out for this sound. Now, let’s move on to the basics of ironing.
Ironing Basics
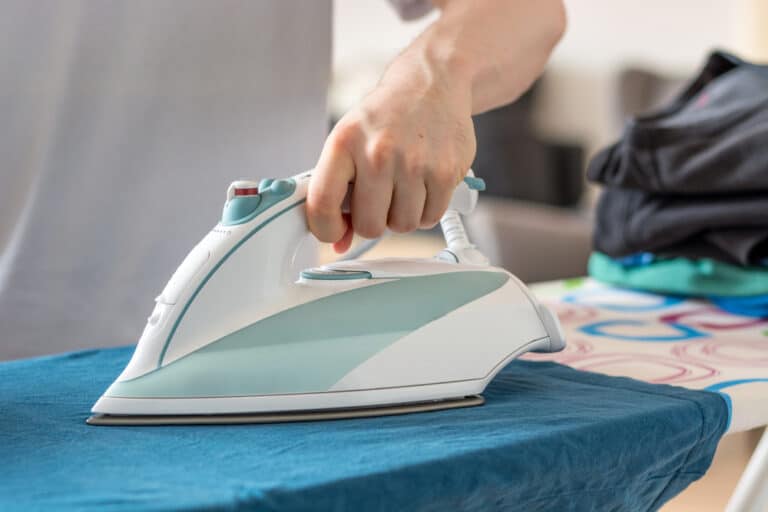
Ironing a shirt may appear to be an intimidating chore; however, with the correct equipment and strategies it can become a straightforward process that yields fantastic results. With the right tools and techniques, you can quickly master the basics of ironing and make sure your shirts look their best.
Start at the Collar:
The collar is one of the most important parts of any shirt, so start there first. Make sure to use an up-and-down motion with your iron when pressing this area – don’t drag it across or you may end up stretching out the fabric. If your shirt has a detachable collar, remove it before beginning and press each side separately.
Work in Sections:
Once you’ve finished with the collar, move on to other sections of your shirt, like cuffs and sleeves. It’s best to work from the top down so that any creases created by previous steps are not pressed into place permanently as you go along. When working around buttons or pockets, take extra care not to burn them with direct contact from the iron – instead use indirect heat or cover them with a damp cloth for protection if needed.
Temperature Settings:
Before starting any project involving an iron make sure that you know what temperature setting is appropriate for whatever type of fabric you are using – too hot will damage delicate materials while too cold won’t get rid of wrinkles effectively enough. You should also check labels inside garments for specific instructions on how they should be cared for (e.g., dry clean only).
Once comprehended, start investigating the utilisation of steam to acquire a smooth look.
Using Steam
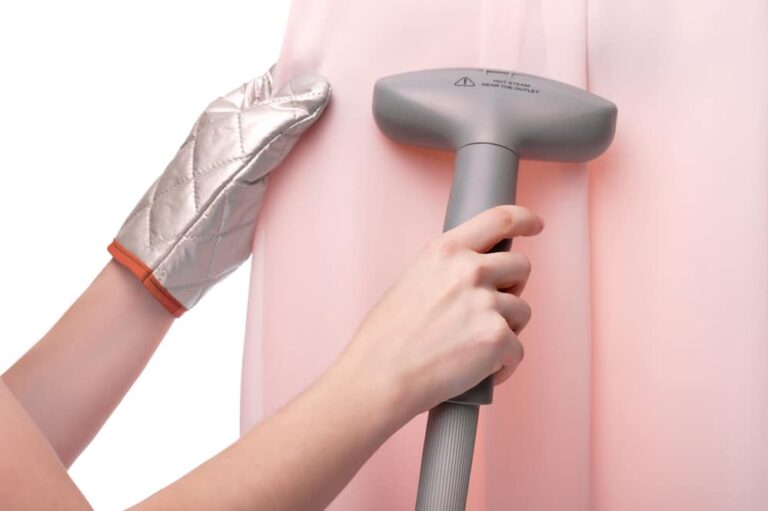
Using steam when ironing a shirt can be tricky. It’s crucial to be aware of the right timing and technique when utilising steam for optimal results while ironing a shirt.
When To Use Steam:
When you are pressing cotton, linen, or other natural fibres that tend to wrinkle easily, using steam is an effective way of getting rid of wrinkles and creating a crisp finish. If your fabric is particularly thick or heavy, bursts of steam will help penetrate the material more effectively than just a steady stream.
When Not To Use Steam:
Delicate fabrics such as silk should never be steamed directly with an iron – instead, use a spray bottle filled with distilled water and spritz lightly over areas that need refreshing before pressing them carefully with an iron set at low temperature without any steam being released. Also, avoid using steam on synthetic materials like polyester or nylon as they may melt under direct contact with hot vapour.
Once you have steamed your shirt, it’s time to move on to the finishing touches. By utilising a few straightforward techniques, you can guarantee that your shirt has an impeccable and expert appearance suitable for any event.
Finishing Touches
Steaming is a useful technique for achieving a neat and tidy look, but it’s not the only thing that needs to be done in order to get your garments looking their best. Finishing touches can make all the difference in getting that perfect look. Here are some tips for making sure your shirt looks its best after steaming:
Hang It Up:

After steaming and brushing off any lint, hang up your freshly pressed shirt right away. This will help keep wrinkles at bay while allowing gravity to do its work – letting those creases settle into place without having to worry about them coming back later on down the line. Plus, hanging up clothes helps preserve their shape better than folding them would.
If you’re unable to hang your shirts, then make sure to fold them carefully and evenly; otherwise, the fabric could become misshapen with unsightly creases. This will help prevent any bumps or ridges from forming due to uneven pressure during the folding process, which could lead to wrinkling issues later on.
Clothes Brush:
Use a soft-bristled brush to remove any lint or dust from the fabric of your shirt. This will help ensure that no particles stick around and ruin the finished look. You can also use a lint roller if needed.
Pressing Cloth:
A pressing cloth is essential when ironing delicate fabrics such as silk or linen, as it prevents them from becoming damaged by direct contact with an iron’s hot plate. Place the cloth over the area you want to press before applying heat, then move it aside once you’re done so that there won’t be any scorch marks left behind on your clothing item.
Conclusion
With the right preparation, setup and technique, you can achieve professional-looking results in no time. No matter your skill level, these steps on how to iron a shirt with a steam iron will help you produce neat and wrinkle-free shirts each time. So don’t be afraid to give it a try – you’ll be amazed at how easy it is to iron a shirt with a steam iron.


