If you’re looking for an easy way to paint a wooden fence, a roller is a tool for you! This comprehensive guide will show you how to paint a fence with a roller quickly and easily.
These suggestions will certainly help you get the best results, whether you’re painting a new fence or simply giving an old one a fresh coat. Let’s get started!
Why You Should Paint a Wooden Fence

Whether you’re sprucing up an old fence because you plan on selling your house or want a fresh look, here are three reasons why painting it should be on your to-do list:
It Increases Property Value
A freshly painted fence can increase the value of a home, especially if it’s an exterior painting project. For prospective buyers, curb appeal is essential, and a freshly painted wooden fence will offer your home a competitive edge over other homes in the neighbourhood.
It Makes Your Home Look More Well-Maintained
A peeling and chipped fence paint is an eyesore. It makes your home look neglected. A fresh coat of paint will make your fence look new again and help you maintain that well-kept appearance.
It Protects Against the Elements
Exterior paints act as a barrier against the weather and protect your fence from UV rays, rain, snow, and ice. Over time, this will help prevent the wood from rotting or becoming damaged.
The Pros and Cons of Painting Your Fence
Are you on the fence about painting your fence? Here are a few advantages to consider:
It’s Cost-Effective
Compared to hiring a professional, painting your fence yourself can save you a lot of money.
It’s Creative
With so many textures and colours available, you can let your creativity run wild when painting your fence.
It’s a DIY Project
Painting your fence is a great way to flex your home improvement muscles. It can be challenging, but the satisfaction you’ll feel when it’s finished is worth it.
It Will Help Prevent Untimely Fence Repairs
A coat of paint will protect your fence from the sun, rain, snow, and ice, which can prolong its life.
Now for the cons:
It Can Be Time-Consuming
Painting a fence can be a lot of work, especially if it’s a large project. Depending on the size and condition of your fence, it could take you several days to finish the job.
It Requires Some Skill
If you’re not familiar with painting, it’s essential to do your research and practice beforehand. A poorly painted fence can look even worse than an unpainted one.
It Can Be Messy
Paint can get everywhere, so be prepared for a bit of a mess. Cover any nearby surfaces you don’t want to paint on, and wear old clothes that you don’t mind getting dirty.
Painting Tools and Materials and Their Uses
There are a few essential painting materials and tools you’ll need to paint a fence:
Paintbrush

A paintbrush is best used for painting individual fence panels. Be sure to select a brush that’s the right size for the job—too small, and it won’t be easy to cover large areas; too large, and it will be challenging to get into tight spaces.
There are many types of paintbrushes, from staining brushes to sash brushes. But for most fence painting projects, a standard wide brush will suffice.
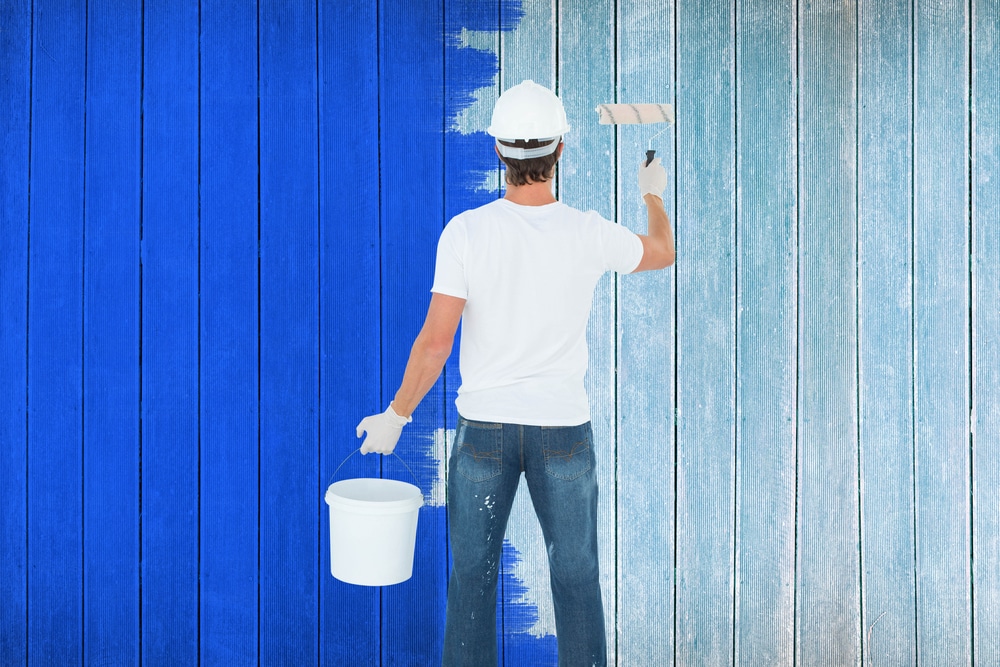
Paint Roller
A roller is the best way to paint fence panels and large, flat surfaces.
For a garden fence project, you’ll want to select a roller that’s specifically designed for use with an extension pole. It will be easier for you to reach the top of the fence. Also, you might need more than one roller.
Paint Sprayer
A paint sprayer or spray gun is a tool that can be used for painting fences. It helps paint large areas quickly and evenly. But ensure you know how to use paint sprayers since it takes practice to use one with precision.
Paint Tray
A paint tray is necessary for holding the paint while you’re painting. It’s also helpful to avoid any paint spills.
Paint Stirrer
A paint stirrer is used for remixing paint that’s been sitting for a while. This will help ensure that the paint is evenly mixed and won’t streak when applied to the fence.
Sandpaper
Sandpaper is needed for preparing the fence’s surface before painting, particularly in rough-sawn timber. It will help remove any peeling paint or dirt and make rougher fences smooth so that the paint will adhere properly.
Safety Gear
When painting your garden wood fence, it’s important to wear safety gear to protect yourself from possible injuries. This includes gloves, goggles, a dust mask, and suitable shoes.
Ladder

A ladder is necessary for painting fence areas too high to reach from the ground. Be sure to set up stepladders safely and correctly. Have someone hold it steady while you’re on it.
Rags
Rags help clean up any paint spills and paint traces.
Fence Cleaner
A fence cleaner is used for preparing the fence. It will remove any dirt, grime, or mildew that’s on the surface of the fence.
Paint Stripper
A paint stripper is a tool that can be used to remove old paint from a fence. This is necessary if you’re repainting a fence that’s already been painted.
Exterior Wood Preserver
An exterior wood preserver is a product that can protect the fence from the elements. It keeps the fence paint from chipping and peeling, prolonging its life.
Tarp or Plastic Sheeting
A tarp or a plastic sheet can protect the surrounding area from paint spills. It’s also helpful for protecting the ground from any dirt or dust produced when you’re sanding the fence.
Ties
These are used to keep garden plants away from the fence while you’re painting.
Step-by-Step Instructions on How to Paint a Fence with a Roller
Now that you know why painting your fence is a good idea, let’s get into how to do it! Below are easy-to-follow instructions on how to paint a fence fast.
Step 1: Choose Your Paint

Ensure you’re using the correct type and colour of paint for your project. We recommend using exterior paint that is specifically designed for wood.
This type of paint will resist fading and peeling and stand up to the elements. It would help if you choose a brand with a built-in primer—this will help you get better coverage and achieve a professional-looking finish.
Step 2: Prep the Area
Before you start painting, it’s essential to prep the area. This includes removing any loose nails, debris or dirt from the fence and wiping it down with a damp cloth. Make sure all the flat surfaces are dry before you start.
Step 3: Apply Primer
If your wood paint doesn’t have a primer built in, apply a coat of primer to the wood properly. This will help the wood paint adhere to the surface and give you better coverage.
Step 4: Paint the Fence
Next, pour your paint into a roller tray and load up your roller. Tap the roller to remove all the excess and apply the paint in long, even strokes following the wood grain.
Work from top to bottom, and make sure to overlap your strokes so you’ll cover the entire fence. Remember to use vertical strokes on vertical panes and horizontal strokes on horizontal panes.
Step 5: Let the Paint Dry
Once you’ve finished painting, let the paint dry before moving on to the next step. This can take anywhere more than 12 hours, depending on the paint you use and the weather conditions.
Hence, check the weather forecast when planning this project to ensure the conditions are ideal for painting.
Step 6: Seal the Wood Paint
Once dried, apply a coat of sealant. This prevents chipping, peeling, and fading.
Now that you know how to paint a fence with a roller, go ahead and get started on your next project! With these easy steps, you’ll have a beautiful fence surrounding your outdoor space in no time.
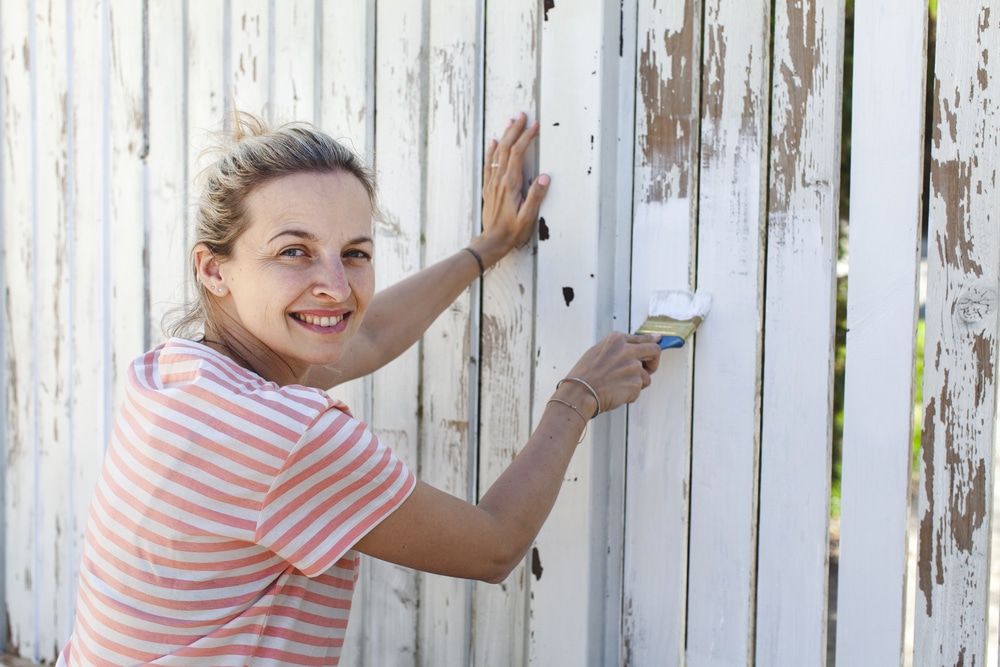
Tips for Getting the Perfect Finish When Painting Old Fences
Do you have an old, peeling fence that’s starting to look a bit dated? If so, painting the fence is a great way to give it new life! But before you start, here are tips to consider.
- When painting an old garden fence, choosing the right paint is important. Use exterior paint that is specially formulated for wood. This type of paint will resist fading and peeling and stand up to the elements.
- For best results, choose a fence paint that has a built-in primer—this will help you get better coverage and achieve a professional-looking finish.
- Before you start painting, prep the area. Remove any debris or dirt from the fence. All the surfaces should be dry as well.
- Allow the exterior paint to dry thoroughly. The drying times can take a few hours to one day.
- Consider using a sealant. A good sealant will protect wood fences from fading and peeling and make them more weather-resistant. A suitable sealant will also help your fence look newer for longer!
Now that you know how to paint an old fence go ahead and give it a fresh new look! With these easy steps, you’ll have a beautiful fence in no time.
There are a few common mistakes that you’ll want to avoid when using paint products. Let’s take a look at the most common:
Mistakes to Avoid When Painting a Wood Fence
Not Preparing the Paint First
Painting dirty and rough surfaces will result in a poor-quality paint job. Be sure to clean the fence surface before beginning to paint.
Pouring Too Much Paint on the Roller
Before loading your roller, determine how much paint you need. Don’t pour too much paint on it. This will make it harder to apply the paint evenly and cause drips.
Applying the Paint Too Thickly

Be sure to apply the fence paint in thin, even coats. Using it too thickly will cause drips and runs and can make it difficult to achieve an even finish.
Applying Paint in Short, Choppy Strokes
When painting, always paint in long, smooth strokes. Painting in short, choppy strokes can cause the paint to streak and will not give you a uniform finish.
Not Covering the Entire Surface
Ensure to include all of the surfaces that you plan on painting. If you miss a spot on a fence panel, the paint will likely chip or peel off once it’s dry.
Not Overlapping Your Strokes When Painting
When painting, be sure to overlap your strokes to avoid leaving any bare spots. Paint can dry quickly, so it’s important to work in small sections and ensure that each stroke overlaps the previous one.
Not Letting the Paint Dry Completely Before Applying a Second Coat
This will result in the paint peeling and will also be a waste of time and money. It’s crucial to wait for the first coat to dry completely before adding a second one. Doing this will give you the best results and prevent any issues down the line.
Skipping the Sealant
Skipping or using a poor-quality sealant will result in a paint job that won’t last. Use a quality sealant and apply it according to the manufacturer’s instructions. This will help your fence paint job last for years to come.
These mistakes can result in an uneven, sloppy finish, so make sure to avoid them at all costs! By following these tips, you’re sure to achieve beautiful fence painting results and a lasting finish.
Frequently Asked Questions About Fence Painting
Can You Paint a Fence With a Roller?
Absolutely! However, it’s important to make sure that you follow these tips to avoid common mistakes and achieve the best results.
Can I Use Oil-Based Paints on Wooden Fences?
Yes, you can use oil-based paints on wooden fences. However, they will require a primer before painting and may take longer to dry.
What Type of Paint Is Best for Wooden Fences?
There are many types of paint available on the market, so it’s important to choose one designed for outdoor use and provides good protection against fading and peeling.
Can I Use Spray Paint?
Regular spray paints are not recommended for exterior use, such as painting fences, as they can cause streaking. Use specially designed spray paint. Better yet, use a roller and apply the paint in thin, even coats.
Using a Fence Paint Roller Like a Pro
If you’ve never painted a fence before, it can seem like a difficult process. But thankfully, this step-by-step guide on how to paint a fence with a roller will make this DIY project so much easier.
If you’ve revived an old fence using our tips, let us know about your experience. We love hearing about readers’ successes, and we’re always here to offer advice.


