Do you love roses? Have you ever wanted to propagate them but didn’t know how?
This article will teach you expert tips on how to take a rose cutting! We’ll talk about the tools you’ll need and the procedures for growing new roses. So put on your gardening gloves, and let’s get started!
Growing Roses From Cuttings

By taking cuttings from an established rose bush, you can produce fresh roses in one of the simplest ways possible. Roses propagated from cuttings are more likely to resemble the parent plant than those grown from seeds.
Taking cuttings is also less expensive and more straightforward than growing roses from seeds. Additionally, they will be free from rose suckers and diseases present in the parent plant.
That said, taking cuttings from roses does have a few downsides as well. First, it takes more time for rose plants to mature than ones grown from seeds. Secondly, not all rose varieties will propagate successfully from cuttings (e.g., hybrid roses).
When’s the Best Time to Take Rose Cuttings
This can be done at any time of year, but it’s best to do it in the spring or early summer when the bushes are actively growing. It also depends if you are taking hardwood cuttings or softwood rose cuttings.
If you’re propagating from hardwood cuttings, you should do this in the dormant season, typically during late fall or winter.
Softwood cuttings should be taken from new growth and should be done during spring or summer.
How to Take a Rose Cutting: Step-by-Step Instructions
Taking rose cuttings is a great way to propagate new roses from those you already have. To successfully grow roses from cuttings, follow the instructions below:
Step 1: Gather Your Supplies
For this project, you will need the following:
- A sharp knife or a pair of pruning shears
- Gardening gloves
- Rooting hormone
- Well-draining potting soil
- A planter or pot at least six inches deep
- Plant stakes or wire hoops (optional)
- Plastic bag
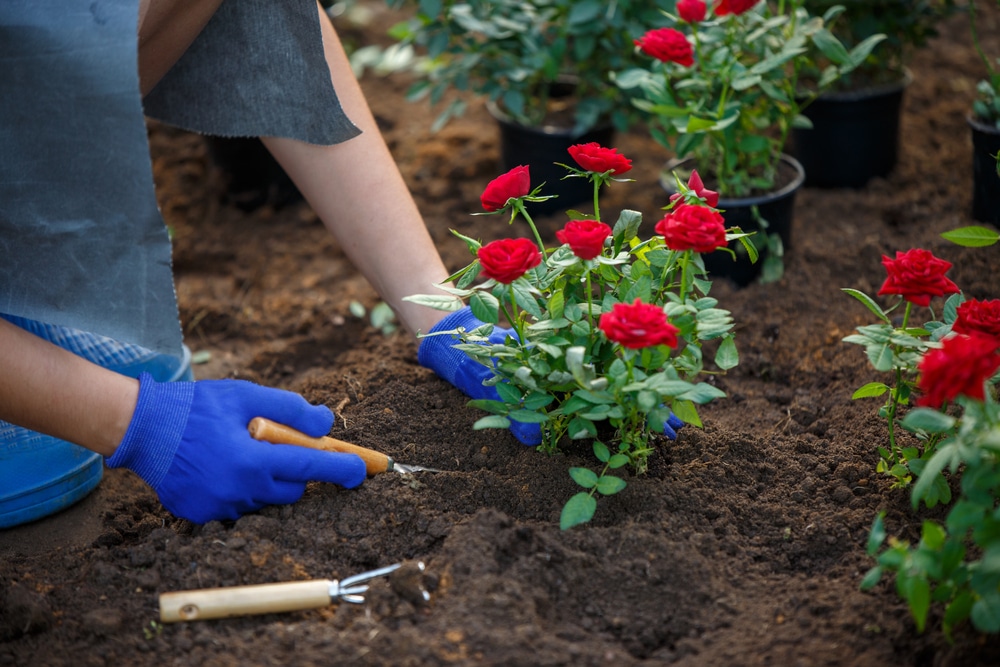
Step 2: Choose Healthy Stems
Choose a healthy, vigorous rose plant to take cuttings from. It’s best to choose rose stems at least three feet long, have five or six-leaf pairs, and have no flowers.
Step 3: Cut the Stems
Using your shears, cut the stems below where it joins another stem. Make sure there are at least two nodes on your cutting.
Remove any thorns from the bottom of your cutting. Ensure you’re cutting the healthy stems at a 45-degree angle. You want each stem to be between six to eight inches long.
Remove the leaves from the bottom half of your cutting. This will help prevent rot.
Step 4: Place the Stems in Water
Put the cuttings in a deep container filled with water and let them soak for about an hour. This will help keep them hydrated and develop new roots faster after planting.
Step 5: Dip the Cut Ends in Rooting Hormone

Dip the ends of your stem into rooting hormone before you put it into soil or peat. This step is optional; however, it will help speed up the rooting process!
A good substitute for rooting powder would be willow water.
If neither of these is available to you, that’s okay – skip this step. The cutting will still likely root. It just might take a little longer.
Step 6: Place the Stems in the Soil
Place your cuttings into an ample-sized pot filled with moist, well-draining soil with two nodes buried. Firmly pack soil around the cutting to completely bury the cut end.
Step 7: Cover With Plastic Bag
Cover the healthy stem and pot with a plastic bag to keep the cuttings moist and prevent wilting of the leaves during the propagation process. Don’t forget to poke some holes for air circulation!
Step 8: Place in a Sunny Location
Place the container in an area with bright, indirect light, such as an east or west-facing window. Keep it in this spot for at least six weeks – you can leave it there until new growth appears if desired.
Most rose cuttings will root within four to eight weeks when kept at 70 degrees Fahrenheit (21°C). Stake it or wrap it in wire hoops if necessary for support.
Step 9: Water Regularly for Four Weeks
Water your cuttings once per week for about four weeks. The soil should be moist but not wet. Remove the bag after four weeks and transplant your new rose into a large pot or garden bed.
Step 10: Fertilise Your Rose Cuttings

Once your cutting has rooted, start fertilising it with a water-soluble fertiliser every two to three weeks.
When the weather starts to turn cold, move your rooted cuttings indoors to a sunny spot and continue watering and fertilising them regularly.
In several weeks, you will have a brand new rose plant hat that is identical to the one you took the cutting from! Enjoy propagating new roses this way – it’s a fun and easy gardening project.
Propagating Roses – Tips and Tricks
Propagating roses can be intimidating, but it’s not that difficult. Here are some essential tips to keep in mind when taking rose cuttings:
- Choose healthy plants. The roses should be free of pests and diseases.
- Always use a clean pair of pruning shears. Disinfect your gardening tools just before using them. This will help prevent the spread of disease.
- Take rose cuttings in the morning when your plant is well-hydrated.
- Use a sharp knife or shears to cut stems. Cut at an angle so that water does not sit on the cut end of the cutting, which can lead to rot.
- Do not allow rose cuttings or growing medium to dry out.
- If you are propagating roses in the winter, place your cuttings in a warm spot near a window or under a grow light.
- Use a rooting hormone to help your cuttings take root quickly.
- Maintain high humidity around the cuttings. A greenhouse or mini-greenhouse is ideal for propagating roses. You can also make use of a terrarium, cold frame, plastic baggie or even a large jar.
- Label your cuttings with the variety and date taken. This will help you keep track of them as they grow.
Frequently Asked Questions About Rose Propagation
Can You Root Rose Cuttings in Water?
You can also place the end of your cutting in water or even wrap it around green woody stems such as the stem of a raspberry plant. This is called air layering and can help you propagate rose cuttings that are still attached to their original stem.
How Long Does It Take for a Cutting From a Parent Rose to Root?
It takes approximately one month for your rose cuttings to root successfully if kept in moist and warm conditions.
When Should I Take Hardwood Rose Cuttings?
To take hardwood cuttings, you will need to wait until late autumn or winter when the bush is dormant.
Is It Better to Take Hardwood Cuttings Than Softwood Cuttings?
It is better to take softwood cuttings than hardwood cuttings. Softwood cuttings root more quickly and are less likely to rot in the process.
How to Take Softwood Rose Cuttings?
To take softwood rose cuttings, snap off the stems from the new growth of your rose bush. The stems should be pencil-thick and with leaves.
Remove the lower leaves and cut the stems down to about four inches in length. Place the cuttings into pots filled with soil and keep the plants moist until they root.
Propagating Roses From Cuttings
Taking cuttings is one of the easiest and most convenient ways to propagate roses. You can have new, healthy plants in just a few short weeks.
And now that you know how to take a rose cutting, why not give it a try? It’s a fun and easy gardening project that the whole family can enjoy!
If you found this guide helpful, please share it with your friends! And be sure to check out our other gardening guides for more tips and tricks.