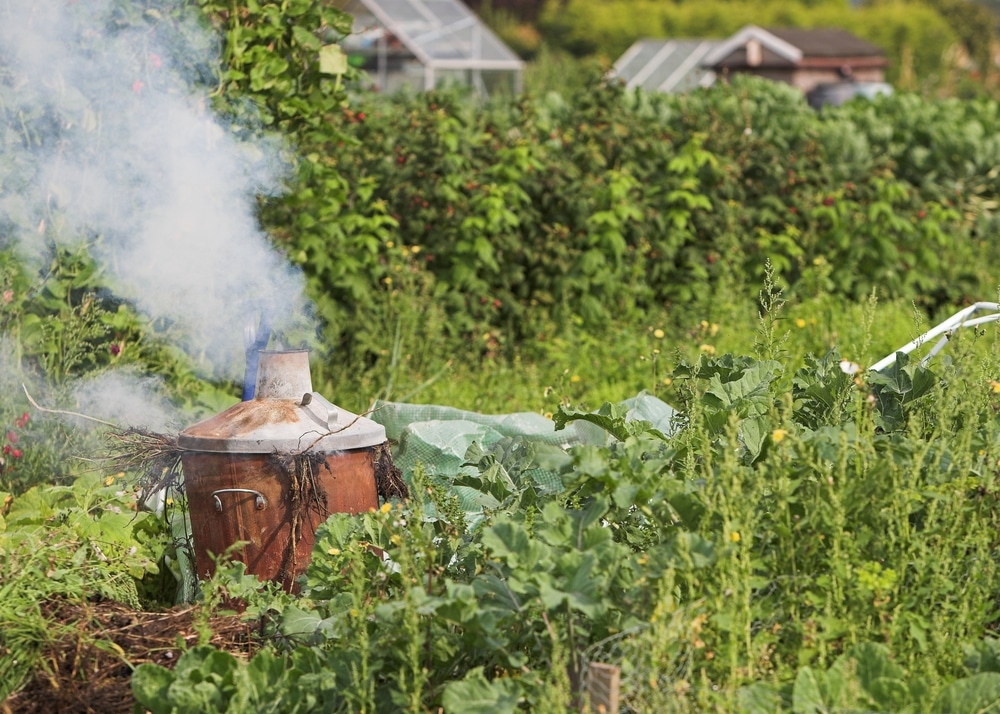
Are you curious to know how to use a garden incinerator? Then you’re in luck because we have a step-by-step guide and some helpful safety tips in today’s article. Continue reading for advice on how to keep your fire burning, dispose of wet material and what garden rubbish is suitable to burn.
Setting Up a Garden Incinerator
Fortunately, assembling a garden incinerator is fairly straightforward and requires fitting the legs to the bin section. More often than not, a garden incinerator will come with instructions that inform you how to put the separate elements together, and, in most cases, you’ll need a screwdriver to help you with the job. So make sure to get your toolbox ready.
Most incinerators have holes underneath to allow air to flow through the bin, which is why it’s best to choose a bin with legs. But if your current incinerator doesn’t have legs, don’t worry. Instead, you can raise the bin by adding bricks at the bottom, ensuring that all of the bricks are evenly placed to prevent any tilting or falling.
Finding a Location for Your Incinerator
After you’ve assembled your garden incinerator and have tested that it’s stable, you’ll need to move it to a level surface away from branches and trees. Ideally, store your incinerator on dry grass, away from any hazardous objects or items that could burn quickly or become damaged by fire or heat.
Lighting Your Garden Incinerator
Once you’re happy that your garden incinerator is in a safe place in your garden, it’s time to get to lighting it. Before you ignite it, you’ll need to remove the lid. Then, place pieces of a scrunched up newspaper at the bin’s base and add a layer of twigs on top. Ensure that the entire bin is coated in newspaper before you proceed to the next step.
Only then should you light the end of the newspaper with safety lighter fluid and insert it into one of the holes at the bottom of the bin. Once you’ve completed this, you can add the lid and wait for the fire to grow. For this step, we recommend keeping the water to hand because you can never predict fire, and a small spark could create serious damage. Think of your safety at all times and be prepared in the best possible way.
Add Your Waste
Now it’s time to add your waste. Stick to dry waste, to begin with, to help hold fire. You also don’t want to overfill your bin as this can increase sparks flying onto the ground, which doesn’t create a safe environment. Only when you notice that the fire is roaring should you add wet waste to the bin. Bear in mind that moisture will create heavier smoke, so we recommend adding more dry waste than wet to ensure that your fire still goes strong.
Garden incinerators are primarily great for garden rubbish—such as bigger branches, twigs and garden debris. You can also use your bin to burn wood.
General Waste
Incinerators are extremely useful for disposing of general household waste, but avoid burning items like newspapers, fabrics and cardboard products. Paper-based products are easily recyclable, and many fabric materials are flammable, which can pose a safety hazard in your garden. You should also bear in mind that clothing can be donated to a charity shop.
Food Waste
Avoid adding old food to your garden incinerator. We suggest recycling any food that’s still properly packaged and in date if you no longer want it. Alternatively, foods like fruit, vegetables, tea bags and shells from eggs work well in a compost bin, so it might be worth investing in one.
Manage the Fire
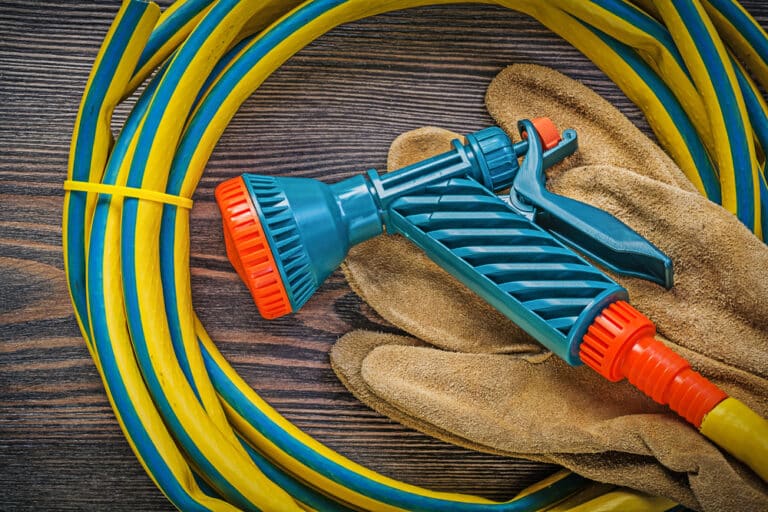
The hard work isn’t over yet. It’s time to manage the fire, which you should always wear heat-resistant gloves for. You might think that the fire in your bin is small and harmless, but you could easily be wrong. Therefore, we suggest keeping a long poker near you to manage the fire. Every so often, use this stick to move objects around, ensuring that they burn properly and evenly distribute the flames.
Close the Lid
When you want to begin burning garden waste, place the lid on the incinerator. This process will intensify the heat inside the bin, thus, helping the fire to last longer. Putting the lid on the garden incinerator also makes it much safer since the sparks can’t fly out of the bin.
You’ll know that it’s time to remove the items from your incinerator bin when the flames are barely visible, and your objects have turned to ash. But bear in mind that ash can remain hot for a while, so resist the temptation to pour water into the bin as this will result in a sludgy residue, making it harder for you to clean and empty. Best of all, you can use this garden incinerator ash in your compost bin to prevent the soil from becoming too acidic, creating an environmentally friendly way of disposing of the ash.
Wait For the Flames to Die Down
If you want to add more garden waste to the incinerator, you can wait for the flames to die down first. As you can imagine, it’s not the smartest idea to expose roaring flames. Instead, wait until the flames have died down and are weaker.
When to Use Your Incinerator Bin
Always check the forecast before using a garden incinerator bin for ultimate safety. In particular, never use garden incinerators on windy days because this increases the chances of sparks flying, increasing the chances of the bin toppling over and causing a potential safety hazard and possibly blowing smoke to your neighbours. Instead, stick to using your incinerator during dry weather.
You should also check that you’re not using the incinerator bin on very dry grass, as dry shrubs and vegetables can lead to accidental fires.
Extinguishing the Fire
Once all the waste in your garden incinerator bin has finished burning, it might be time to extinguish the fire. To do so, close the ventilation system, and the fire will naturally die down quickly. Once the incinerator has cooled down, you’re safe to move it to another place for storage, but always allow a couple of hours before picking it up and placing it somewhere else for your own safety.
How to Choose a Garden Incinerator
Garden incinerators are great inventions for reaching very high temperatures to burn new material and other objects. To help you find the best garden incinerator for you, we’ve created a list below of the essential features to consider during the buying process.
Size

The most important factor to consider is the size of the incinerator bin. It’s a great idea to own one that’s a suitable size for your needs and the amount of garden waste that you typically accumulate. Fortunately, they’re available in various capacities, so there’s definitely an option for you—from a small to a large incinerator bin.
Durability
Next, you must use a garden incinerator that’s durable and uses only the highest-quality materials. Considering these bins reach high temperatures, you shouldn’t expect yours to last a lifetime—no matter how well you care for it. But for the best burning incinerator, consider a durable stainless steel design; this should set you up for several years.
Ventilation
Finally, your chosen garden incinerator needs to have ample ventilation for the fuel and oxygen to burn effectively—especially if you plan on burning wet materials or large garden materials. Check that the garden incinerator you’re considering has ample ventilation and airflow for the best results.
Tips for Using a Garden Incinerator Safely
- Ensure that it’s on a sturdy surface and isn’t wobbling around
- Wear protective clothing that isn’t loose, and, ideally, don’t wear flammable materials
- Avoid wearing lotions or perfumes and tie back long hair to prevent any accidental fires
- Wear thick gloves at all times to prevent burning your hands. Keep them on for when moving the incinerator bin, too
- Never leave the incinerator unattended
- If you’re unsure if you can burn in your area, contact your local authorities
- Use during very dry weather
- Add a small pile of items at a time
Do You Use a Garden Incinerator?
Now you know how to use a garden incinerator. Make sure to use it in dry weather, eliminate wearing long sleeves, and follow the safety instructions that come with the bin. We’d love to hear your tips on how to use a garden incinerator. Let us know your hacks in the comments.


