If you’re new to woodworking, learning how to use a planer thicknesser might seem like a complicated concept. While a significant amount of configuration and setup is required to leverage one of these tools, the machines can also be extremely useful.
A planer thicknesser is an excellent tool to ensure you maintain the right level of thickness within your boards when you’re working on a project. You can trim your timber to the exact size you need and benefit from smoother, cleaner wood.
Here’s what you need to know about using one for your next woodworking project.
Step 1: Choosing and Setting up Your Tool
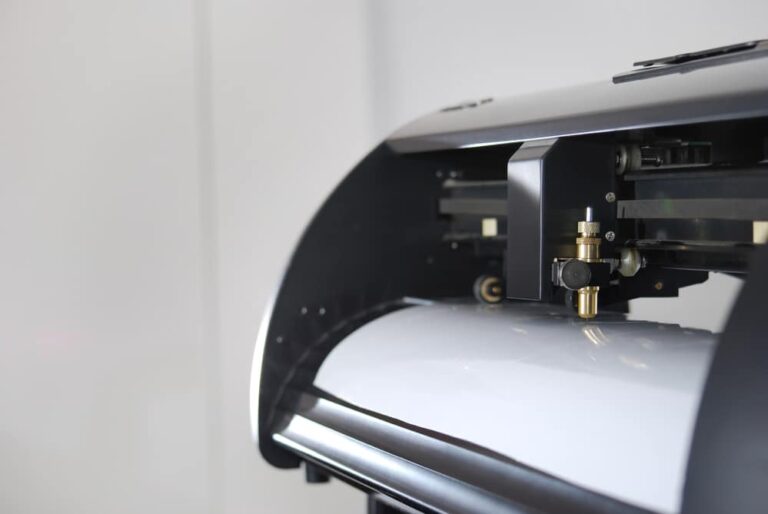
The first step in making the most of your planer thicknesser is ensuring you choose the right machine and set it up correctly. There are a variety of options available to carpenters and professionals, including benchtop thickness planers and portable planer thicknessers. If you just need a basic solution for woodworking, a smaller model for your benchtop should be ideal.
Think about the planing thickness and depth levels you need to access. Notably, most planers will function in the same way for the most part, but the size of the material they can accept will often vary. Once you’ve selected your planer, read the instructions in the user’s guide to set it up.
First, choose a good location for setting up your machine. The ideal position should usually be somewhere relatively close to a power source, so you don’t have to run a long extension cable to your device. Make sure you also have enough space around you for the infeed and outfeed table. You’ll need to be able to insert and remove wood without hitting anything.
Always ensure your planer is set up on top of a secure and stable work surface. Your device shouldn’t move around as you’re planing timber: this can lead to errors and make issuing the device more dangerous.
Step 2: Choosing Your Material

Learning how to use a planer thicknesser correctly also means getting your material right.
Most woodworkers will use rough-sawn timber or another type of wood. Keep the limitations of your chosen planer in mind. Some products don’t work well with bumpy or rough timber, while others can only handle wood of a certain thickness level or length.
Remember that your planer thicknesser will require one side of your wood or timber to be flat already. It can only plane the surface of your wood relative to the other side. If the bottom side of the wood being planed is not flat already, this will lead to unevenness in your project.
If you’re not sure one side of your wood is already flat, you can consider using a jointer to smooth the surface out. Some machines include a jointer and a planer in one, so you can flatten the surface of your chosen material before you start planing.
Step 3: Set Your Depth and Thickness
After you have your planer set up and your chosen material (wood or timber) to work with, you’ll need to set the depth and thickness stop for your machine. This will determine how much material will be shaved off the surface of your wood. Some devices will allow you to set the depth in terms of how much wood you want to cut off. Other solutions will allow you to set the depth in terms of how thick you want your resulting material to be.
For instance, you may set the thickness to around one and a half inches, and the planer will automatically cut your timber to that size. Some machines have a lever to help you adjust the depth, while others have cranks you can turn. Take the time to ensure you get the depth level right for your wood to avoid any mistakes.
If your thickness planer also has a depth-stop function, you’ll need to set it, too. This prevents the thickness planer from removing any material deeper than a specific level. Sometimes, you can set it to a minimal level to prevent it from influencing your project. Some woodworkers simply don’t use this function.
Step 4: Safely Planing Your Wood
When everything is set up correctly, you’ll be able to turn the machine on and start using it. You may need to wait a few moments for the device to get up to speed. Feed the wood through the infeed section of the device in a slow, controlled motion. Ensure you always have the device cutting according to the grain of the wood instead of against it.
To make certain you’re using your planer thicknesser safely:
- Keep your fingers far away from the rollers or cutters. You may need to use a push stick to help create distance between yourself and the blades.
- Keep your hair out of the way. Plus, never wear anything that could get caught in the blades, such as gloves, long sleeves or jewellery.
- Wear the right accessories. Consider using a pair of earplugs to protect yourself, a respirator mask, and a set of safety goggles.
- Do not adjust the table when the machine is running. Don’t try to make any changes to the table when you’re working, as this can be dangerous.
- Go slowly. Only remove a small amount of material at a time to avoid overworking the machine. Use dust extraction tools to keep sawdust out of the area.
Make the Most of Your Planer Thicknesser
It’s essential to know how to use a planer thicknesser safely before you start operating it. Always follow the instructions, and don’t allow your fingers to get too close to the cutter block.
It may take a little while before you feel entirely confident using a planer thicknesser. But the more you work on wood projects, the easier the process will become.