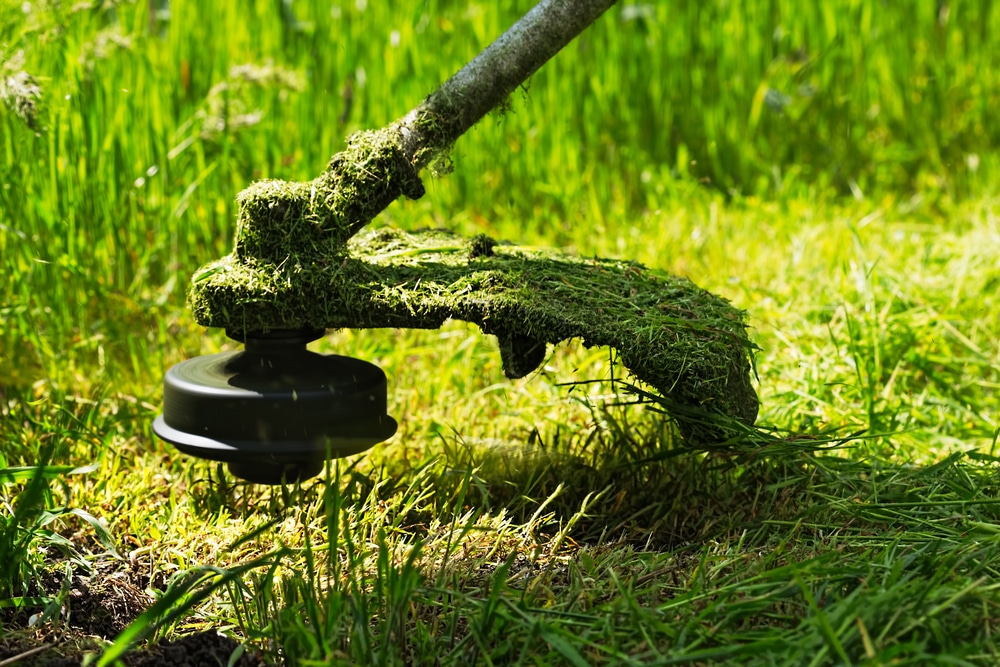
Knowing how to use a strimmer should not prove to be too difficult, even if you are brand new to this particular machinery. Using a grass trimmer is quick, easy, and capable of doing a fantastic job when you know how to handle everything correctly.
But here’s an important point. There’s a bit more to it than simply switching it on and allowing the grass trimmer to get to work. The overall outcome you can obtain will be significantly affected by your ability to set everything up correctly.
Why Should You Use Grass Trimmers?
First, why would you even use grass trimmers in the first place? Well, it does a different job to your lawn mower in that you can use a grass strimmer to not only cut down long grass to then tackle with your lawn mower but also to create crisp lines around the edge of your lawn.
You may also wish to use your strimmer to cut down long weeds, but it is primarily a tool for trimming grass. When it comes to garden power tools, this edge trimmer is one of the most popular on the market.
Different Grass Trimmers
This specific gardening tool comes in a variety of versions. Along with strimmers powered by the mains, the other main version is a petrol strimmer, but if you rarely use it in your garden, then that may not be the best option.
However, it will prove to be useful with a petrol strimmer if you have a larger garden or tackle tougher grass regularly. The power in this tool will make short work of long grass, and it will certainly be quicker at this compared to a normal mains-powered version.
Most people won’t require an industrial strimmer for their garden. One that plugs into the mains will often be sufficient if you merely want a strimmer to tidy up the edges around your flower beds.
Understand How to Work Your Version
How a petrol strimmer works compared to a mains powered is going to be different. Also, there can be slight differences between models as to how you power everything up. With that in mind, we recommend checking the manual of the model you have to see exactly how your particular grass trimmer is switched on and even how to adjust it.
Understand the Spin Direction
When learning how to use a strimmer, you also need to become aware of the direction in which the trimmer line will spin. If it goes in an anti-clockwise direction, the grass will be thrown out to the left, so you need to position your body accordingly. Also the opposite will be true as well.
It will help to protect you from ending up covered by cut grass. That stuff will go everywhere, so being aware of how it will shoot out of the head of your strimmer will be a huge help.
Step-by-Step Guide on Using Strimmer Properly
So, let’s look at the key steps that we feel you should be aware of when using your strimmer. As you will see, there are only a few to check out, and several of them are linked to how to use the strimmer in different circumstances.
Step 1: Getting Your Garden Ready
The first step is to get your garden ready. We recommend removing garden furniture, as the nylon line on the strimmer will hit the garden furniture and snap. That is going to mean you work your way through the nylon in next to no time.
Also, remove pets and children from the way before you start. It is due to the noise and the debris that will be included, and pets have a habit of getting in the way and causing problems.
Step 2: Remember Personal Protective Equipment
Whether you use a petrol trimmer, electric trimmer, or a batter string trimmer, there’s going to be debris flying all over the place. While pieces of grass won’t do much, you can throw up small stones and even parts of plants. This flying debris will hurt if it hits you, and protective gear could stop something from going in your eye.
Safety equipment is essential, so please don’t overlook it. Use gloves as well as glasses to reduce the chance of any potential accidents happening.
Step 3: Start Your Strimmer
Next, you need to start your strimmer. For a petrol-powered strimmer, that’s going to mean kicking those two-stroke engines into life. As we said before, consult the manual to know exactly how to fire up your tool.
Step 4: Get to Grips With the Cutting Head
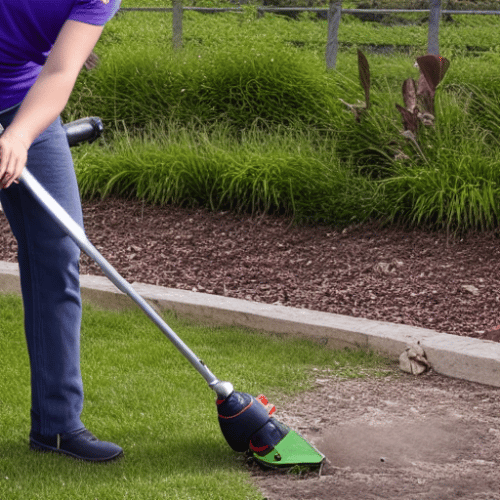
It’s very important to understand not only the cutting technique but the cutting head itself. You need to remember that the trimmer head will throw up pieces of grass and weeds, so you want to position the strimmer to prevent all of that debris from coming up and hitting you. Remember our earlier point regarding the spin direction to see how you stand when going along the cutting line.
Step 5: Making a Parallel Cut
Now we can get into the actual cutting, and one of the main things people want to know when learning how to use a strimmer is the best way to produce a parallel cut.
With this type of cut, you are trying to cut grass on a flat surface. You want to hold the strimmer level against the surface and then allow the power tool to work its magic.
Here, the actual angle of the trimming line is going to create the cut. Again, this applies to string trimmers, electric strimmers, or any other garden tools of this ilk.
Step 6: The Tapering Cut
If you want to try cutting grass, it’s on an angle: then the trimming line has to reflect this. That’s why you have a tapering cut.
Most trimmers will give you the option of changing the angle of the head, so to turn it around, it’s at an angle to allow the line trimmer to cut effectively and not simply bang into the edge.
This method will allow you to get up close to the edges, even in an enclosed space. It removes the longer grass that your lawn mower cannot reach, and it will help make the entire lawn appear far tidier than it would have otherwise been.
This method is excellent for difficult terrain.
Step 7: The Edging Technique
If you have a flower bed and you want to cut grass with a sharp line to define the bed, then the edging technique is best. Turn the line trimmers to make sure they are perpendicular to what you are cutting. If unsure as to how to do this, then check the instruction manual for your model.
It will create a vertical cut path, and it makes cutting grass along these edges significantly easier than it would have otherwise been. It is the perfect way to create the perfect edge.
Step 8: The Scythe
The other main cutting technique is the scythe, and this is going to help you cut down the grass and weeds that are out of control. In this instance, use a strimmer in a long, sweeping motion, and cut down the length of the grass or weeds that you want to deal with.
The cutting power of your strimmer will make short work of this, but this technique will require you to wear your protective gear as cut grass will fly all over the place.
Additional Tips on How to Use a Strimmer
We do have some additional tips on using a strimmer, and the aim here is to make sure that you are using the right strimmer for you and get the most out of it.
Be Aware of a Hard Surface
Try to reduce the number of times you hit a hard surface with these cutting tools. You will damage the cutting line, and even the best strimmer on the market is going to find it hard going if you keep hitting that fence or those patio slabs.
Never Forget Safety Glasses
While cutting grass and weeds, never forget to wear safety glasses in your garden. Everything from electric strimmers to battery-powered versions will throw all of this debris out of the business end, and even the most well-kept garden is still going to result in grass flying all over.
You may think grass hitting you won’t cause a problem, but it will.
Work on Understanding the Trimming Line
You need to work using a strimmer line and how to get the best results. It will take time to get used to the cutting power of these particular garden tools. Of course, the cutting line is less important if you are using your strimmer as weed whackers, but knowing how to line everything up is key if you want that crisp edge in your garden.
Start Using Your Strimmer
Learning how to use a strimmer is not tough, but it will take some time to master it. If concerned, use your new strimmer in a hidden part of your garden rather than trying to create a crisp line where everyone is going to see it.
By the end of it all, you will have not only a garden you can be proud of but a perfect lawn as well.

